Foundation Game Design with ActionScript 3.0, Second Edition (14 page)
Read Foundation Game Design with ActionScript 3.0, Second Edition Online
Authors: Rex van der Spuy

Click the OK button and a new blank window will open, which is the window in which you'll draw your background. This is called the
canvas
.
Figure 2-6
shows what you'll see.
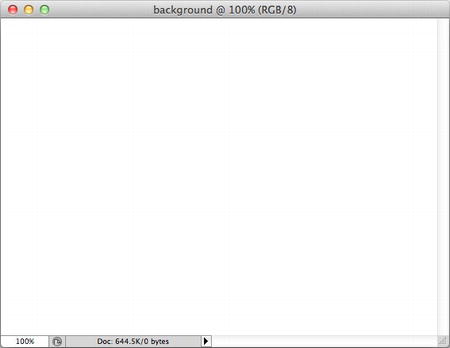
Figure 2-6.
The blank canvas where you will draw the background scene
When you created your new blank canvas, you gave it a width of 550 pixels and a height of 400 pixels. What are pixels?
Pixels are tiny squares that make up a computer graphic. They're the smallest thing you can see on your screen. Nothing can be smaller than a pixel. If you zoom into a computer graphic, you'll see that it's made up of tiny little squares. Those are the pixels.
Figure 2-7
shows an example.

Figure 2-7.
Pixels are the tiny squares that make up computer graphics.
It's important to know that the new blank canvas you created is really just a grid of these tiny little squares. You can't see them yet because they're all colored white, but they're there. This new blank canvas, so plain and innocent looking to the untrained eye, is really composed of 220,000 tiny white pixels.
Figure 2-8
Illustrates this.
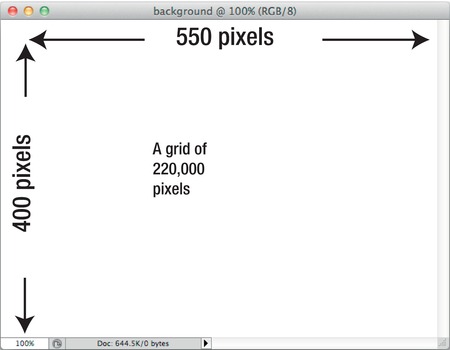
Figure 2-8.
The deceptively blank canvas is really a grid of tiny white squares called pixels.
It's important to start thinking of this canvas as a grid of pixels. In the next chapter you'll see how you access and control the position of all your game elements on every point in this invisible grid.
Note: Pixels are the basic building blocks of computer graphics, but they're not the only ones. There is another way you can make computer graphics using
vectors
. Graphics made using vectors have lines as their most basic element, not squares. Photoshop is specialized for creating graphics using pixels, but software such as Illustrator and Flash Professional use vectors. In the chapters ahead you'll learn how you can use vectors to make sophisticated illustrations for your games.
Photoshop's Shape tools also use vectors as their primary building blocks.
To the left of the Photoshop workspace you'll find the Tools panel. You'll find most of Photoshop's drawing tools here. The Tools panel has one potentially confusing feature, which is that many of the tools are hidden until you hold your left mouse down over one of its buttons. Doing so reveals a list of all the tools that are grouped together as part of that button set. You can then select the tool you're looking for from that list. It will take you a bit of practice and experience to find and remember which tools are grouped with which button sets, but you'll gradually get the hang of it.
Figure 2-9
shows where most of the important drawing tools are hidden. Refer back to this illustration if you're struggling to find any of the tools I ask you to use in the instructions ahead.
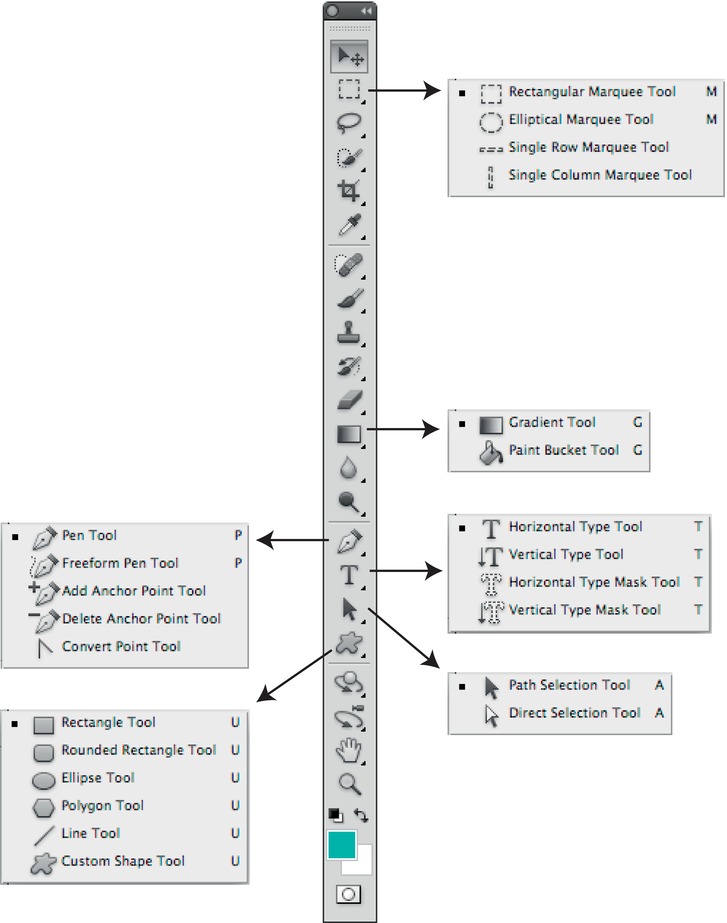
Figure 2-9.
You can reveal Photoshop's hidden tools by holding down the left mouse button over any of the button sets.
The first thing you're going to draw is a blue sky that will form the background for the rest of your scene. In these next steps you'll learn how to draw a square using the Rectangle Tool, fill it with color, and use a gradient to give it a natural sense of depth.
Select the Rectangle Tool from the Tools panel. You'll know that it's been properly selected when you see its icon appear as a depressed button in the Tools panel, as in
Figure 2-10
.

Figure 2-10.
Select the Rectangle Tool.
Next you're going to select a color for the rectangle. There are two places you can do this. At the very bottom left of the Tools panel you'll see two overlapping squares. Selecting the top square allows you choose an object's foreground color. Selecting the square behind it lets you choose its background color. If you ever need to, you can swap these colors by clicking the curved arrows icon.
Figure 2-11
illustrates this.

Figure 2-11.
Select an object's foreground or background color.
Photoshop also has something called the
Options bar
that runs along the top of the workspace. It's
context sensitive
, which means that the buttons and settings you'll find here will change depending on which tools you've selected. With a bit of experience, you'll start to learn which tools and options you can select here when different tools are active. When the Rectangle Tool is active, you can change its color in the Options bar, as shown in
Figure 2-12
.

Figure 2-12.
The context-sensitive Options bar allows you change many tool options, including the color.
Note: If for some reason you can't seem to find the Options bar, it might be hidden. To reveal it, select Window Options from Photoshop's main menu. There should be a checkmark next to Options.
Just above the Options bar is the Application bar. You can use it to make changes to the canvas's zoom percentage and also modify how Photoshop displays its panels and windows.
Click the foreground color selection box in either the Tools panel or Options bar, as described previously.
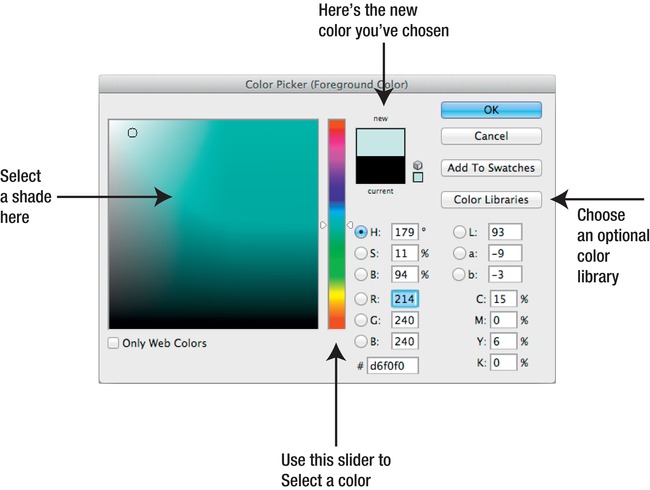
The Color Picker window opens to allows you to choose a color. Use the slider in the middle of the window to choose a color, and then choose the shade (lightness) of that color in the large square box to the left of it. The box labeled “new” shows you what your new color will look like and compares it to the currently selected color. If you feel there's just too much choice, click the Color Library button and load a pre-selected collection of colors you can choose from.
Figure 2-13
shows what the Color Picker looks like.