Ukulele For Dummies (43 page)
Read Ukulele For Dummies Online
Authors: Alistair Wood

Figure 10-9:
Phrase combining sliding up and sliding down.

Sliding in
You can use slides as a way to move into a note adding an effective flourish. The big difference is that this slide has an indeterminate starting position; it seems to slide in from nowhere. Here's how to slide upwards into a note:
1. Start with your finger two frets below the target note.
In Figure 10-10, that's the fifth fret. Starting two notes below is only a suggestion. It's a good place to start when you're perfecting the technique. When you're confident with it try shorter or longer slides in.
2. Begin sliding up to the note.
3. Pick the note a split second after you start sliding.
4. Stop at the target note and let the string ring.
Figure 10-10:
A series of slides up into notes.

 Only pick the note after you've started sliding, because that's what gives the impression of the note sliding in from nowhere.
You can also slide downwards into a note by starting two frets higher than the target note.
Sliding out
 As well as sliding into a note, you can also slide out of a note. The slides in Figure 10-11 and on Track 41, Part 2, go out and downwards. You slide out of a note as follows:
1. Fret and play the note as usual.
2. Slide the note downwards and slowly release the pressure as you're sliding.
3. Stop fretting the string so that you can no longer hear the note (you can vary the distance but between two and four frets is normal).
4. Stop sliding.
You can also slide out and up: just change the direction.
Figure 10-11:
Phrase with slides in and out.

 Slowly release the pressure of your fretting as you slide out of the note. That should make the sound gently fade out so that you don't hear the end of the slide.
 As with any soloing technique, sliding into and out of a note is most effective when used sparingly. Sliding into a note is a great way to start a phrase and sliding out gives a phrase a great ending.
Bending notes
A
bend
is played by grabbing the string and pushing it across the neck; this increases the tension in the string and therefore raises the pitch. The technique works in the same way as when you're tuning a string by using the tuning peg to increase the tension in the string and raise the pitch of the string (check out Chapter 2 for more on tuning).
You play a bend as follows:
1. Fret the note with your ring finger and also put your index and middle fingers on the same string.
These fingers act as support.
2. Pluck the string.
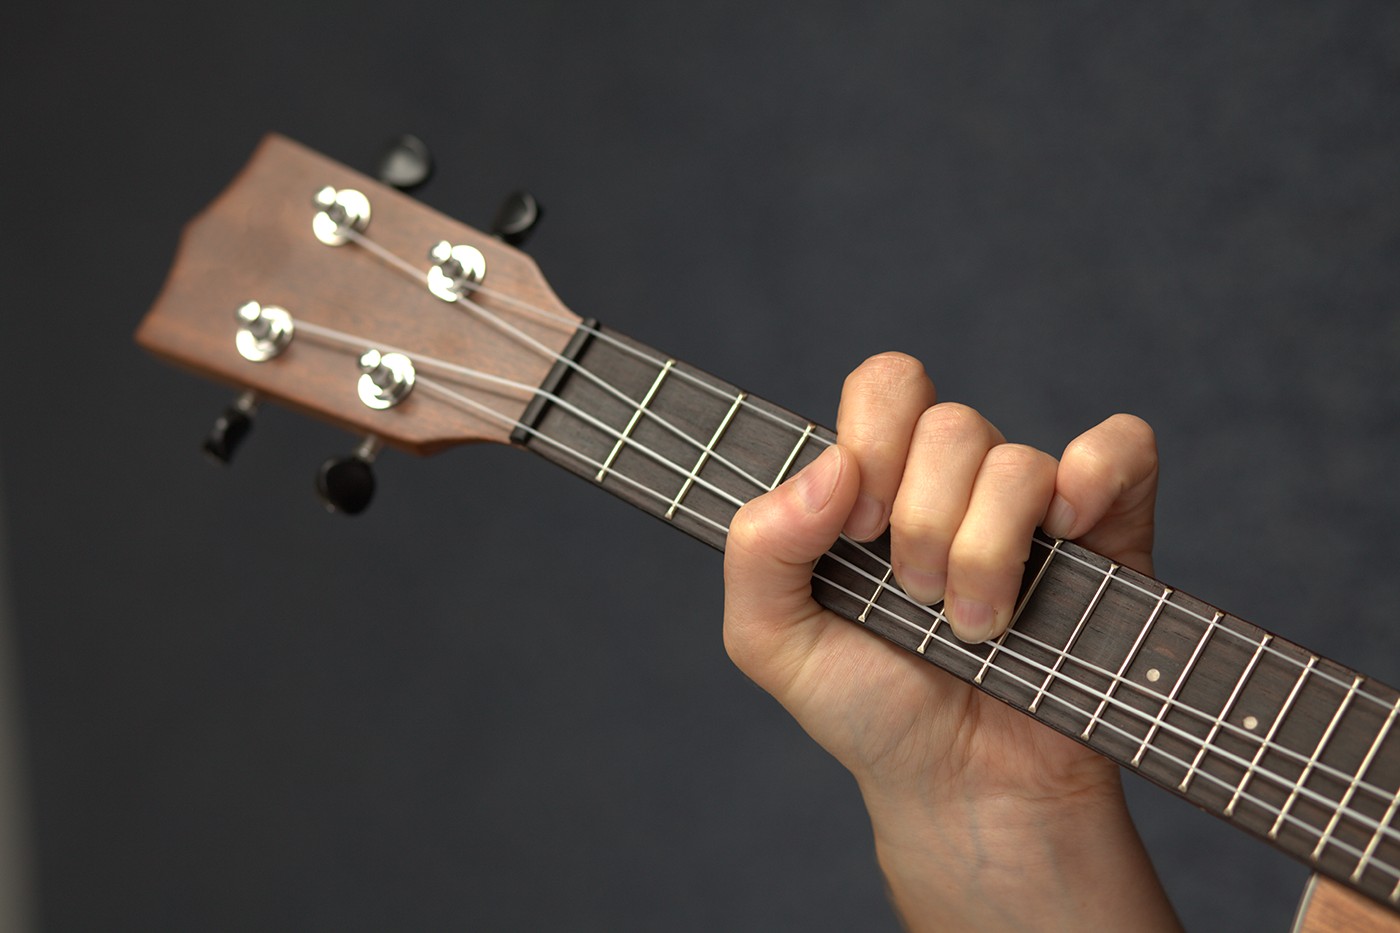
3. If you're playing the E- or A-string, push the string up towards your face so that your hands look like Figure 10-12.
If you're playing the g- or C-string, pull it down towards the ground.
4. Bend the string until you reach the target pitch and hold it.
 Bends are a tricky prospect on the uke. Unlike on steel-stringed instruments, the nylon strings don't take kindly to being bent. Bending notes to get them in tune can be a trial.
In tab, bends are shown as a curvy arrow with a number at the top. The number refers to the number of steps by which the note should increase. So when a bend has a â1â2' at the top, you need to bend by half a step (one fret higher). When the tab says âfull' at the top, that's a bend of a whole step (two frets). Figure 10-13 shows both half- and whole-step bends.
In standard notation, a bend is shown as a pointed line between the note being bent from and the note being bent to.
Figure 10-12:
How your hands look while bending a string.

Figure 10-13:
Half- and whole-step bends in tab.

 Bring your thumb over the top of the fretboard to give you some extra leverage.
