Everyday Play (11 page)
Authors: Christy Isbell

Develops your child’s scissor skills and eye-hand coordination
What You Needthin paper (cut in squares) in solid colors, such as copy paper, tracing paper, or wrapping paper | pencils and child-safe scissors
What to Do• Cut paper into 6” x 6” or 8” x 8” squares (adult-only step).
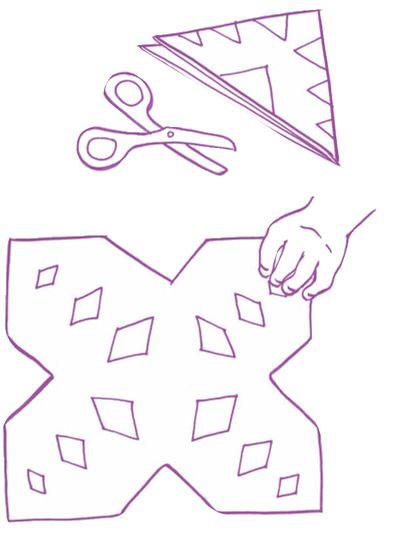
• Model for your child how to fold his piece of paper (assist as necessary).
• Fold the paper in half, with opposite corners touching, to form a triangle.
• Fold the paper in half again, to form a smaller triangle.
• Draw alternating lines, about ½” apart on paper triangle, as shown in the illustration (adult-only step). Encourage your child to cut directly on the lines, making sure not to cut all the way across the paper.
●
Gently open the paper to form a “Paper Mobile.”
●
Gently open the paper to form a “Paper Mobile.”


• Staple a string to the top of the mobile to hang it.
• Staple two “Paper Mobiles” together at each corner and then gently pull apart to make accordion-like paper art.
Helps your child learn to coordinate use of two hands in play
What You Needwhite paper (cut into squares) that is good for folding, such as copy paper or drawing paper | child-safe scissors
What to Do• Cut pieces of paper into 4” x 4” to 8” x 8” squares (adult-only step).
• Demonstrate the following method for folding paper and help your child, as needed. Draw lines on the paper to help her know where to fold.
• Fold the paper in half, with opposite corners touching, to form a triangle.
• Fold the paper in half again, to form a smaller triangle.
• Show her a method for snipping or cutting the edges of the paper triangle.
• Open the paper to reveal a snowflake.
• Use waxed paper or foil wrapping paper to make unusual snowflakes.
• Give her glitter glue and sparkles to decorate her snowflakes.
Develops your child’s lacing and tying skills, self-care skills, and eye-hand coordination
What You Needvariety of adult or large children’s shoes that lace, such as tennis shoes, dress shoes, boots, or unusual shoes | various shoelaces with good tips, including leather, fabric, and elastic
What to Do• Remove the laces from several pairs of shoes (adult-only step).
• Challenge your child to pair up the shoes with the correct laces.
• Show him how to lace the shoes, using verbal directions, such as:
• Start at the two holes near the toe of the shoe.
• Pull the shoelace through each hole until the two sides of the lace are equal.
• String the lace through each hole.
• Help him hold a shoe in his lap or put the shoe on his foot.
• Watch him lace and tie the shoes and help him as needed
• After he finishes lacing his shoes, encourage him to put on a fashion show and walk around in the shoes he laced.
• There are various ways to lace shoes. Encourage your child to make his own lacing patterns.
Improves your child’s hand skills and gives her a chance to experiment with a variety of tools in play
What You Needmodeling clay | wax paper | variety of tools, including rolling pins, stylus (piece of wood shaped like a pencil for carving clay), craft sticks, toothpicks, child-safe scissors, plastic knives, and small mallets | mirror(s) (hand-held or standing) | air-tight storage containers
What to Do• Talk with your child about how artists make sculptures. Go to your local library and ask the librarian to help you find books about sculptors, both classic and modern, for example: Michaelangelo, Rodin, Henry Moore, Alexander Calder, and Ruth Asawa. Share these books with your child.
• Place a piece of modeling clay on wax paper, and show her the various tools she can use to create her sculpture.
• Encourage her to make a self-portrait.
• Suggest that she look at herself in the mirror before and during the process.
• This project may continue over several days. Store the clay in air-tight containers overnight, or cover the sculptures with moist towels so that the clay does not harden. Resealable plastic bags or plastic wrap also work.
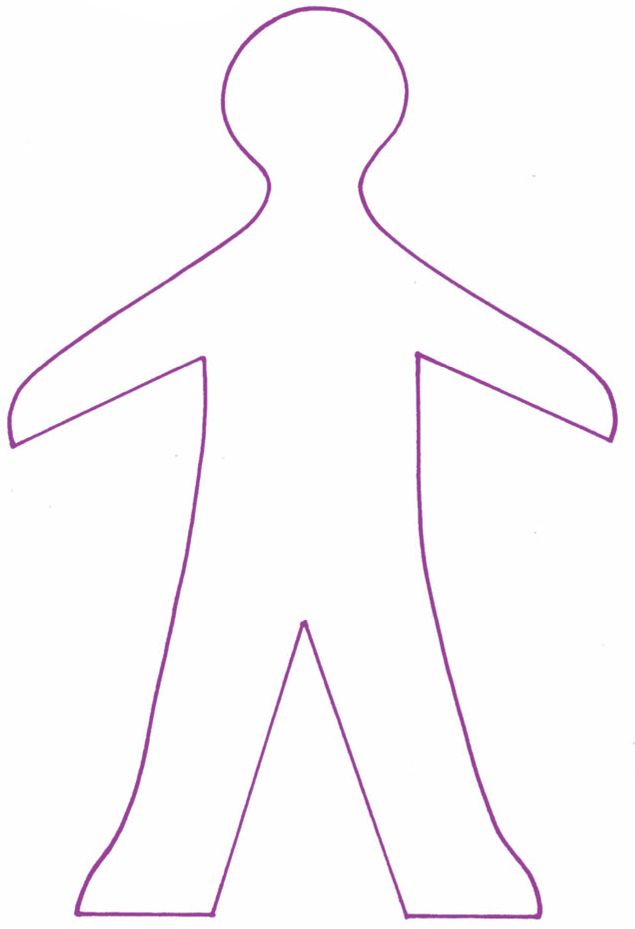
Develops your child’s confidence in using his
hands to construct objects
What You Needhands to construct objects
paper towel rolls | wrapping paper rolls | paper plates | child-safe scissors | tape (masking, duct, or electrical) | construction paper | various materials for decorating (markers, crayons, star stickers, or paint)
What to Do• Set out the materials on a work surface.
• Show your child a picture or read a book about a rocket or spaceship. Two good choices are
Roaring Rockets (Amazing Machines)
by Tony Mitton and Ant Parker and
On the Launch Pad: A Counting Book about Rockets
by Michael Dahl.
Roaring Rockets (Amazing Machines)
by Tony Mitton and Ant Parker and
On the Launch Pad: A Counting Book about Rockets
by Michael Dahl.
• Encourage your child to build his own “Magic Rocket” by taping materials together. Paper plates can be cut in half to make wings or a propeller. Use the construction paper to make a cone-shaped tip of the rocket ship.
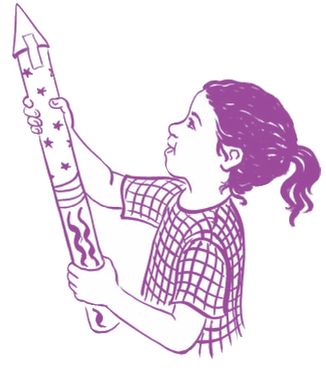
• Help by holding materials or cutting tape, as needed.
• Once he finishes constructing his “Magic Rocket,” he can decorate it with markers, crayons, or paint.
• Create a telescope. Tape two or three paper towel rolls end to end to form a long telescope.
• Create binoculars. Cut a paper towel roll in half. Tape the two parts side to side to form binoculars.
Develops your child’s ability to grasp tools effectively
What You Needcollection of objects from outdoors (flat objects with texture work best) such as leaves, bark, grass, flowers, rocks, or shells | thin, white paper such as typing, tracing, or onionskin paper | small crayons and pieces of crayons
What to Do• Talk to your child about print making.
• Show her the method of print making by placing a flat object under a piece of paper, and use a piece of crayon to rub across the paper.
• Discuss the collection of nature items.
• Encourage her to explore the objects and make her own prints.
• Talk to your child about some of the reasons why certain objects do not make a print. Encourage your child to collect items from around the room to discover if they will make a print.
Develops your child’s small muscle dexterity and eye-hand coordination and gives him confidence in his fine motor abilities
What You Needbriefcase or messenger bag | paper used at work, such as address books, notepads, sticky notes, and memo pads | variety of writing utensils, such as pencils, thin markers, and washable pens | 1-hole punch, ruler, tape, and glue sticks | cell phone (play or non-functioning) | calculator
What to Do• Create a briefcase for your child.
• Talk to your child about the function of a briefcase and the things that are found inside it.
• He can explore the briefcase and use the tools in play.
• Put a wallet or coin purse with coins inside the briefcase to add another level of learning and imaginative play.
Helps your child manipulate tools in play, learn to create art with a variety of materials, and use an effective grasp of tools
What You Needterra cotta flowerpots | acrylic paints | small paintbrushes | foam stamps | clear acrylic spray | vinyl tablecloth, shower curtain, or newspaper to keep work surface clean | paint shirts for children
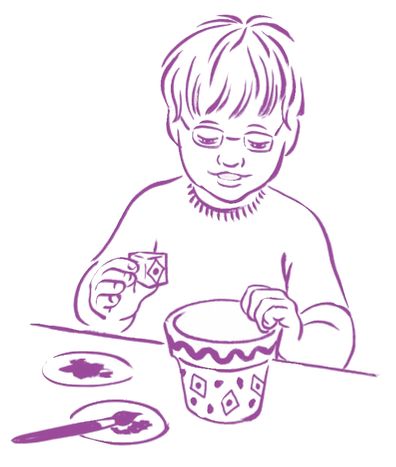
What to Do• Give your child a flowerpot and set out the decorative materials. Invite her to decorate it.
• Spray the painted pot with clear acrylic spray (adult-only step) and allow it to dry.
• Fill the pot with a flower or plant or ask your child if she would like to make “Paper Flowers” to place inside (see page 91).
Other books
Reckless (Renegades #1) by Skye Jordan
Mislaid by Nell Zink
World's End by Jake Halpern
A Long Walk Home: One Woman's Story of Kidnap, Hostage, Loss - and Survival by Tebbutt, Judith
Crystal Clear by Serena Zane
Curricle & Chaise by Church, Lizzie
Wings Free with Bonus Material by Aprilynne Pike
Mr. Fox by Helen Oyeyemi
The Lost Duke of Wyndham by Julia Quinn
Winter Street by Elin Hilderbrand