Food in Jars (19 page)
Authors: Marisa McClellan

Many of these recipes will direct you to “bubble” your jars after filling them but before sealing them. This is a process in which you either tap the jar gently on a towel-lined countertop or use a wooden chopstick to help dislodge any trapped pockets of air. You want to remove these bubbles before putting the lids on the jars, as they'll then try to escape during the boiling water bath process and will take some of your brine with them. The reason to use a wooden implement is that it greatly reduces the risk that you'll scratch the interior of your jar. Over time, scratches made by metal utensils can wear down the jars and lead to breakage.

Y
OU CAN BUY READY-MADE PICKLING SPICE FROM
a variety of outlets and manufacturers and many of them are excellent. I like to mix my own so that I can customize the blend of flavors. As you spend some time making and eating your pickles, you can adjust the amounts to please your palate. The proportions I particularly like are listed below. However, if making your own pickling spice feels like a daunting task, feel free to use a pre-blended mix. I like the one that Penzeys Spices (
penzeys.com
) makes.
3 tablespoons crushed bay leaves
3 tablespoons black peppercorns
3 tablespoons whole allspice
3 tablespoons coriander seeds
3 tablespoons mustard seeds
3 tablespoons juniper berries
1 tablespoon whole cloves
1 tablespoon dill seed
1 cinnamon stick, broken into pieces
Pour all the spices into a jar, seal, and shake to combine. Use any time a mixed pickling spice is called for.

G
ARLIC SCAPES ARE THE CURLY GREEN SHOOT THAT
all garlic plants send out come springtime. They get chopped off so that the plants can focus all their energy into the development of bulbs. Scapes used to be something that farmers discarded or kept for their own use, but they started appearng at farmers' markets a few years ago. They have the crunch of a string bean, but with a light garlic flavor.
1½ cups/360 ml apple cider vinegar
2 tablespoons pickling salt
1½ pounds/680 g garlic scapes
2 tablespoons Mixed Pickling Spice (page 118), divided
½ teaspoon red pepper flakes, divided
Prepare a boiling water bath and 2 wide mouth 1-pint/500 ml jars according to the process on page 10. Place the lids in a small saucepan, cover them with water, and simmer over very low heat.
Combine the vinegar, 1½ cups/360 ml water, and pickling salt in a pot and bring the brine to a boil.
Meanwhile, trim the ends of the scapes, both the blossom end and the hard bit that formed at the original cut, and cut them into lengths that will fit in your jars.
Add 1 tablespoon pickling spice and ¼ teaspoon red pepper flakes to each sterilized jar. Pack the trimmed scapes into the jars.
Slowly pour the hot brine over the garlic scapes in each jar, leaving
½
inch/12 mm headspace. Gently tap the jars on a towel-lined countertop to help loosen any bubbles before using a wooden chopstick to dislodge any remaining bubbles. Check the headspace again and add more brine if necessary.
Wipe the rims, apply the lids and rings, and process in a hot water bath for 10 minutes (see
page 11
).
Let these pickles cure for at least 1 week before eating.
Note:
I like to stack the curly parts of the garlic scapes along the jar walls and then pack the straighter ends upright inside. It ends up looking like a curly log cabin, which always appeals to me.

I
N THE YEARS BEFORE I DISCOVERED THE FLAVOR
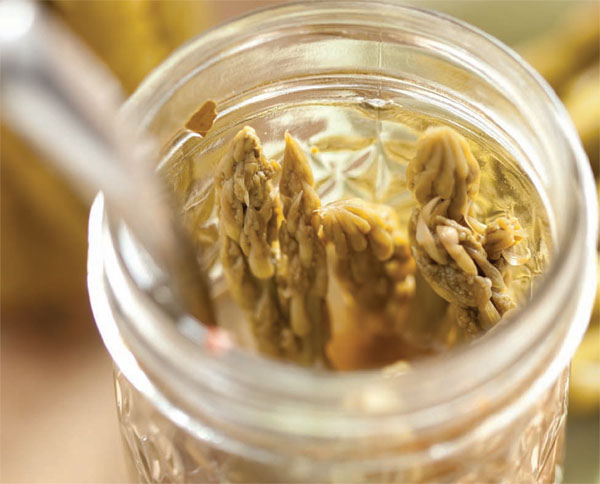
miracle that is pickled asparagus, I would spend each asparagus season in an eating frenzy, motivated by the hope that I'd be able to satisfy a year's worth of vegetal desire in just three weeks. While I still eat more than my share while it's in the farmers' markets, I've channeled some of my maniacal asparagus energy into putting some up for the rest of the year. They make particularly good stirrers for a homemade Bloody Mary.
4 pounds/1.8 kg asparagus
3 cups/720 ml cider vinegar
3 tablespoons pickling salt
3 lemon slices
3 tablespoons Mixed Pickling Spice (page 118), divided
1½ teaspoons red pepper flakes, divided
3 garlic cloves, peeled
Prepare a boiling water bath and 4 regular-mouth 1-pint/500 ml jars according to the process on page 10. Place the lids in a small saucepan, cover them with water, and simmer over very low heat.
Wash the asparagus and trim the ends so that the spears will fit in your jars with
½
inch/12 mm of headspace. Bring a large pot of water to a boil and, working in batches, blanch the trimmed asparagus for 10 seconds. As it comes out of the boiling water, put the asparagus into a large bowl of ice water to stop the cooking. The asparagus should be a bright, verdant green at this point.
Combine the vinegar, pickling salt, and 3 cups/720 ml water in a pot and bring the brine to a boil.
Meanwhile, remove the jars from the hot water. Put a lemon slice in the bottom of each jar. Add 1 tablespoon pickling spice and
½
teaspoon red pepper flakes to each jar. Pack in the trimmed and blanched asparagus (it's up to you to determine whether you want to go tips up or down). Tuck 1 garlic clove down into each jar.
Slowly pour the hot brine over the asparagus spears in each jar, leaving ½ inch/12
mm headspace. Gently tap the jars on a towel-lined countertop to help loosen any bubbles before using a wooden chopstick to dislodge any remaining bubbles. Check the headspace again and add more brine if necessary.
Wipe the rims, apply the lids and rings, and process in a boiling water bath for 10 minutes (see
page 11
).
Wait at least 24 hours before eating, to give the asparagus spears a chance to get absorb the brine. They will continue to get increasingly delicious over time.
Note:
The only tricky thing about pickling asparagus is finding the best jars for the job. I like the taller, 12-ounce/360 ml jelly jars that Ball makes, as they allow you to include a bit more stalk length. Last year, I also invested in a six-pack of the tall cylindrical jars that Weck designed particularly for this task. They are fabulous and I highly recommend them.


T
HIS IS ONE OF MY FAVORITE PICKLES. I'VE ALWAYS
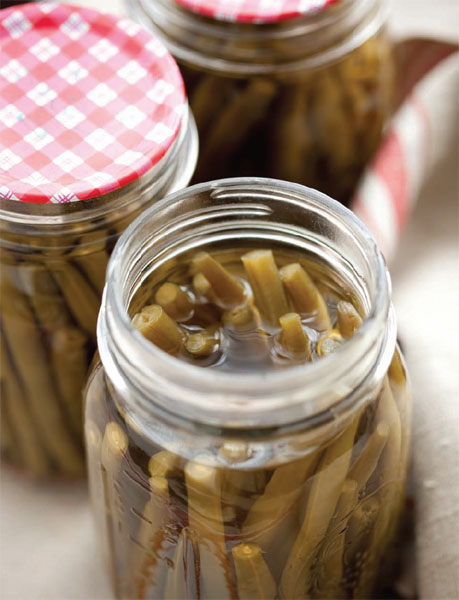
been a string bean lover, so I may have an innate bias. I can easily decimate an entire pint in an afternoon, eating them out of the jar until all that's left is a bobbing garlic clove. They stay incredibly crisp after many months on the shelf. When I'm not eating them straight from the fridge, I like them chopped up in tuna salad or on a cheese plate.
2 pounds/910 g green beans
2½ cups/600 ml distilled white vinegar
¼ cup/50 g pickling salt
1 teaspoon cayenne pepper
4 teaspoons dill seed (not dill weed)
4 garlic cloves, peeled
Prepare a boiling water bath and 4 regular-mouth 1-pint/500 ml jars according to the process on page 10. Place the lids in a small saucepan, cover them with water, and simmer over very low heat.
