Food in Jars (2 page)
Authors: Marisa McClellan

1.
If you're starting with brand-new jars, remove their lids and rings. If you're using older jars, check the rims to make sure there are no chips or cracks.
2.
Put the rack into the canning pot and put the jars on top.
3.
Fill the pot (and jars) with water to cover and bring to a boil. I have found that this is the very easiest way to heat up the jars in preparation for canning because you're going to have to heat up the canning pot anyway. Why not use that energy to heat up the jars as well?
4.
Put the lids in a small saucepan, cover with water, and bring them to the barest simmer on the back of the stove.
5.
While the canning pot comes to a boil, prepare your product.
6.
When your recipe is complete, remove the jars from the canning pot (pouring the water back into the pot as you remove the jars) and set them on a clean towel on the counter. There's no need to invert them; the jars will be so hot that any remaining water will rapidly evaporate. Remove the lids with tongs or a magnetic lid wand and lay them out on the clean towel.

7.
Carefully fill the jars with your product. Depending on the recipe, you'll need to leave between ¼ and ½ inch/6 mm and 12 mm of headspace (that's the room between the surface of the product and the top of the jar). Jams and jellies typically get ¼ inch/6 mm, while thicker products and pickles get ½ inch/12 mm.

8.
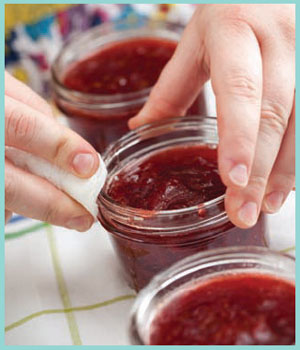
Wipe the rims of the jar with a clean, damp paper towel or the edge of a clean kitchen towel. If the product you're working with is very sticky, you can dip the edge of the cloth in distilled white vinegar for a bit of a cleaning boost.

9.
Apply the lids and screw the bands on the jars to hold the lids down during processing. Tighten the bands with the tips of your fingers to ensure that they aren't overly tight. This is known as “fingertip tight.”

10.
Carefully lower the filled jars into the canning pot. You may need to remove some water as you put the jars in the pot. A heat-resistant measuring cup is the best tool for this job, as it won't transfer heat to your hand.

11.
Once the pot has returned to a rolling boil, start your timer. The length of the processing time will vary from recipe to recipe.

12.
When your timer goes off, promptly remove the jars from the water bath. Gently place them back on the towel-lined countertop and let them cool.
13.
The jar lids should begin to ping soon after they've been removed from the pot. The pinging is the sound of the seals forming; the center of the lids will become concave as the vacuum seal takes hold.
14.
After the jars have cooled for 24 hours, remove the bands and check the seals. You do this by grasping the jar by the edges of the lid and gently lifting it an inch or two off the countertop. The lid should hold fast.
15.
Once you've determined that your seals are good, you can store your jars in a cool, dark place (with the rings off, please) for up to a year. Any jars with bad seals can still be usedâjust store them in the refrigerator and use within 2 weeks.
Your first few jamming forays may feel like guesswork, but after the first few batches you'll start to see the signs of doneness more clearly.

1.
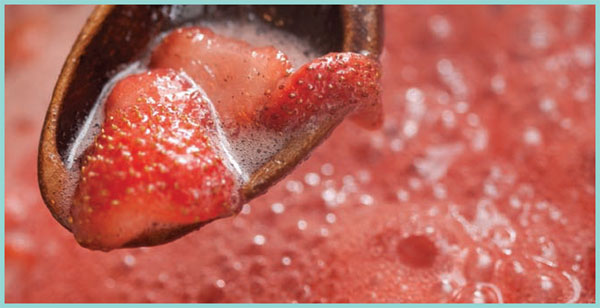
When jam starts to cook, it just looks like bits of fruit bobbing around in thin syrup. The bubbles will be foamy and the boil easy to stir down.

2.
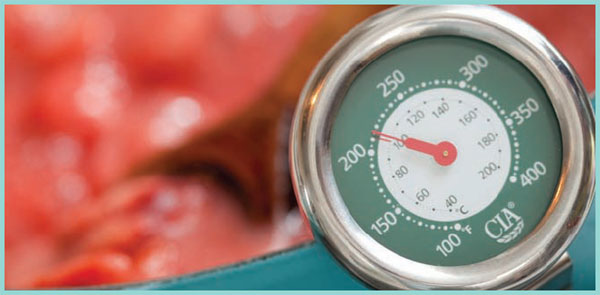
Monitoring the temperature is a helpful way to track the progress of your cooking: jam sets at 220°F/105°C.

3.
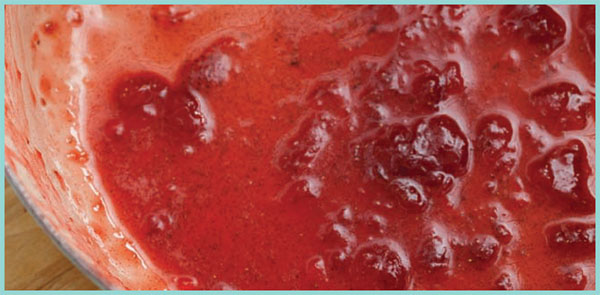
One of my favorite ways to check for doneness is by using the sheet test. Watch the jam as it drips off the back of a spoon. If the drips are thin and quick-moving, the jam still has a way to go (see the photo on the left, above). If they run together and form a sheet as they drip down the spoon, set has been achieved (right, above).

