Incense Magick (26 page)
Authors: Carl F. Neal
Tags: #incense, #magick, #senses, #magic, #pellets, #seals, #charcoal, #meditation, #rituals, #games, #burning, #burning methods, #chaining, #smudging, #herbal blends, #natural, #all-natural

I have a set of block stamps of the alphabet that I have used frequently for trails. I will level the surface of the ash and then press in each letter individually. I leave a moderate gap between each letter. Once all of the lettering is complete I will use a skewer to draw single connecting lines between each adjacent letter. Once a letter gets to the end it will light the connecting line, which will burn and then light the next letter.
Besides actual stamps, there is one other type of commercial product that is very useful for making trails. You may remember that I mentioned earlier in this chapter that there are burners designed for commercial incense powder, and some of them are in attractive designs. Smooth the ash, turn the empty burner upside down, and gently press it into the surface of the ash. Carefully remove the burner from the ash and it will have made a reversed yet perfect image in the ash. Fill the trail with powder and enjoy those clever designs with natural incense powder.
If you want to make your own stamp, the process can be as simple or complex as you'd like. The key is to mount the stamp on a flat surface and make the design deep enough to leave a clear impression. You can make very deep or very shallow stamps, but they must be deep enough to leave a proper trail. I have a pentagram stamp that I made years ago with rectangular strips of bass wood mounted on a small unfinished wooden plaque. The bass wood is about
1
â
4
inch square and sold in long lengths. I created an image of the design on my computer and used a software program to reverse it. More simply, print your image on thin paper and turn the sheet over to create your design.
With the printed design taped to my desk, I cut the bass wood into pieces that were the exact size of the arms of the star in my printout. As I cut each, I laid it in place atop the printout to ensure all the pieces fit. Once all the bass wood arms were cut, I glued them together according to my design onto the surface of the wooden plaque. With the addition of a wooden knob on the reverse side of the plaque, the stamp was complete. Once it was dry I was able to press it into the surface of an ash-filled censer. When the stamp was lifted away I had a perfect incense trail that I could re-create as many times as I wanted.

Homemade stamp.
The pentagram stamp I made has a fairly complex burning pattern. You can make a far simpler stamp than that. A triangle or circular stamp would be easy to make. Any shape that can be drawn with one continuous line could be a good candidate for a stamp.
Other Tools
There are other tools you can experiment with while making trails. I have a small wooden tool for working clay that is fantastic at straightening out joss sticks that I make. It is also a great tool for both drawing in ash and going back over the initial drawing to make certain there is a clean, firm side to the trail.
Another useful tool for making trails is the common cookie cutter. You can find them in virtually any shape imaginable and you might be surprised at how many can be adapted to use in ash. Begin with a smooth surface just as you would with any other trail. Carefully insert the cookie cutter and push it below the surface of the ash evenly. You want the entire cookie cutter to push the same depth into the ash. Once inserted, gently move the cutter in a circular motion. Don't move it around very much, of course, but enough to triple the width of the cut from the cookie cutter. You can then remove the cookie cutter and you will have a very “clean” trail to fill with powder. If the trail is going to follow a circular pattern (so that it will not burn in two different directions from the lighting point) you can use a toothpick to push ash to create a break across the trail, forcing the incense to burn only in the chosen direction.
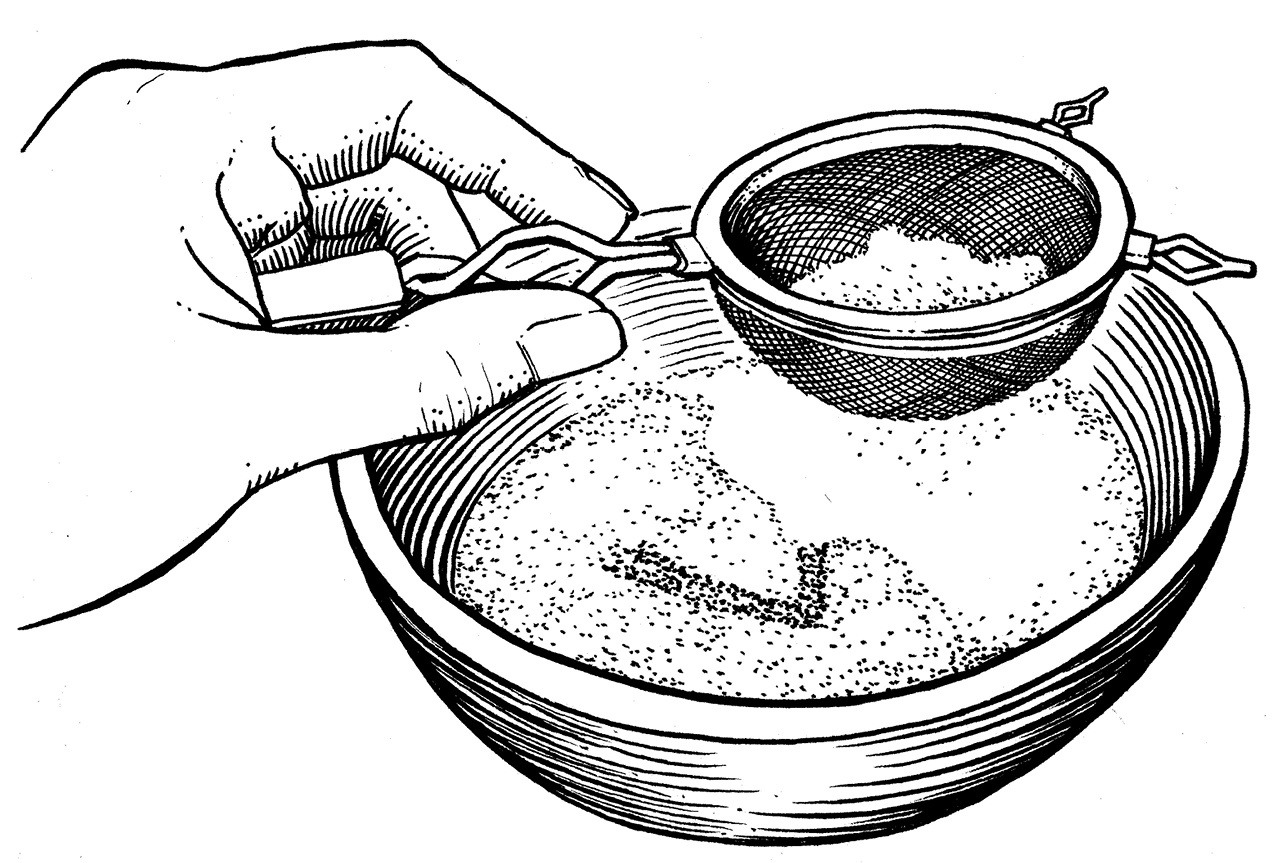
I often use a homemade ash press. It is just a disk of plastic with a handle. The disc is perforated so you can press it against the open top of a tuna fish can and drain the liquid without spilling any of the fish. I covered the surface with a little aluminum foil (to block the perforations) and made a very functional press for less than $2. I use it to level and sometimes compact the ash before creating a trail. You can find all sorts of incense trail tools around the house or the garage. Even kitchen sifters are excellent for sifting your ash. I like fine-meshed nylon the best.
Writing in Ash
This is one of my favorite things to do with incense. You can write anything for which your censer has space. Although you can use a toothpick as your writing instrument, I recommend something a bit wider than that. A wooden chopstick is a great choice. A wooden pencil also makes a good choice, as does the quill of a large bird feather. The key is for the writing to be clear and the trail to be smooth on the sides. For the best results, you should compact the ash in your censer a bit more firmly than you would otherwise. You want a very flat, even surface.
Insert your writing implement of choice and move very steadily through the writing. Ideally, you would write in cursive with each letter connected by a single stroke. Of course you can print, draw shapes rather than letters, or anything else you can imagine to create the trails. Then fill the impressions just as you normally would. You can fill different letters or shapes with different incense blends if you choose. This is a particularly good idea if you are using your trail for more than one working. If, for instance, you wanted to perform prosperity and health spells in the same circle, then you could draw one symbol representing the core purpose of each spell (perhaps a dollar sign for prosperity and a smiling face for health). Draw a trail connecting the two symbols. When the first symbol finishes burning and you smell the second scent begin, you will know it is time to move on to the second spell.
This type of incense use is not at all new and is one more example of what modern incense users can learn from ancient ones. Using multiple incense in trails is a modern application of the incense clock. The changing of scent can also function in other ways. Rather than using it as a time-keeping device, it can be a tool to change your attention. If you were, for example, doing a meditation on the four quarters of the circle, each change of scent could reflect that it was time to move on to the next element.
Hidden Trails
This is an amazing twist on incense trails. I'm certain that some ancient users had to have done this, but I've never found a reference to it in any literature. Since we know that incense charcoal burns just fine beneath a bed of ash, I wondered if other incense would burn below the surface. It was easy to confirm that they do. However, testing this idea with an incense trail was going to be a little tricky. You can't simply push an incense trail below the surface as you can with most other forms of incense. So I decided to scatter ash over the top of my trail until it could no longer be seen. I left one tiny bit of trail visible so that I would know where to light it.
When I burned this first “hidden” trail I was struck by its potential for magick, art, and entertainment. The trail burned as planned, but it was almost as if an invisible hand was writing in the ash with a burning finger. The clean, white ash darkens quickly when the trail burns beneath it, leaving a dark drawing. And with clean ash, it smells just as it would if burned uncovered. I suggest covering the entire surface of your censer with a small amount of clean, white ash. If you only cover the trail itself, the form might be obvious even though the incense itself is covered.
For magickal work you can create an appropriate trail and then cover it. The others in your circle will have never seen the design, so they will have a natural attraction to the trail as it is revealed. This extra focus and attention can strengthen the alignment of the energies that are raised in the circle. The most surprising part for me is that even if I create the trail and know exactly how it should look as it burns, I still find myself rapt by the slowly revealed symbol or word.
Covering a hidden trail with ash.
This technique has non-magickal applications as well. Sadly, I am not an artist. I can draw interesting shapes and letters, but beyond that I fear I am incompetent. But I can envision someone with actual drawing talent using this medium. Can you imagine a gallery showing of incense art where the visitors are part of the process as they watch the art reveal itself slowly? Scents can be paired with hidden trails as appropriate. As different parts of the incense art is revealed, the scent can change to complement it. If a tree is appearing, then a nice cedar might be appropriate, while drawing a meal or food image might use an oregano blend. I'm sure a real artist could employ this medium far more effectively than the way I've described it here.
This technique can also just be for fun. You could have your own incense night when everyone makes their own hidden trails and lights them at the same time. Doing something like this would best be done with one censer in each room to allow the scents to stand on their own. With small censers you could use several in one room. As the trails reveal themselves, the guests can try to guess what shape or scene will be revealed. Just watching even the most mundane shape appear in the incense is fascinating. I still enjoy it after many years and can't imagine ever growing bored with hidden trails.
Rituals
Incorporating incense trails into your rituals is only limited by your imagination. Many of us have gotten used to making the incense component of our rituals nothing more than lighting a stick of incense and forgetting about it. Incense trails are the exact opposite approach. They require time, either before or during your ritual, and lots of care. An incense trail can move incense from having a peripheral presence to being a point of focus in your ritual.
Circle Meditation
For those of us who aren't artists, this is an excellent ritual use of incense trails. Prepare your censer for drawing in the ash. Make a circular impression in the ash. You will find many suitable stamps around your home, including water glasses. The size will only be limited by the size of your censer and the amount of ash filling it. If you are using a small censer then make the circle as large as you can within your censer. If you are using a larger censer (I have a large ceramic mixing bowl filled with ash for making large trails), the size of circle you use should be determined by the amount of time you want the incense to burn. The wider and longer the trail, the longer it will burn.
Use the open end of a drinking glass to make a small circle. An upended bowl will make a larger circle. Slightly move whatever stamp you choose to use to create an impression ¼ inch wide and ½ inch deep. When you fill the trail with incense powder, you have a couple of options. You could fill the entire circle with one scent, or you could use a different scent for each quarter. If you choose to use four scents, try to keep them all balanced in length. Try to fill exactly a quarter of the circle with each scent. You can also mark each quarter of the circle.
Select a starting place where you will light the trail. You should then make a break in the circle at that starting point by pushing a bit of ash into the trail. (If you don't put a break in the trail then the incense will burn around the circle in both directions. That can be a good effect, but only if it is anticipated.) If you want the incense to burn clockwise (deosil), light the trail on the left side of the break you made in the circle. If you want it to burn counterclockwise (widdershens), light it on the right side of the break.
As the incense burns around the circle, spend your time in contemplation about the element represented by that quarter. As the circle burns through the eastern quarter, think about the power of air (or whichever element is associated with that direction in your tradition). Consider air in its many aspects and how it contributes to the magickal work that you do. As the incense burns into the southern quarter, contemplate the power of fire. At the end of the circle you will have spent equal time contemplating all four elements. When the incense is extinguished you can enjoy the blending of the four different scents and contemplate how the elements work together.