Build Your Own ASP.NET 3.5 Website Using C# & VB (101 page)
Read Build Your Own ASP.NET 3.5 Website Using C# & VB Online
Authors: Cristian Darie,Zak Ruvalcaba,Wyatt Barnett
Tags: #C♯ (Computer program language), #Active server pages, #Programming Languages, #C#, #Web Page Design, #Computers, #Web site development, #internet programming, #General, #C? (Computer program language), #Internet, #Visual BASIC, #Microsoft Visual BASIC, #Application Development, #Microsoft .NET Framework


588
Build Your Own ASP.NET 3.5 Web Site Using C# & VB
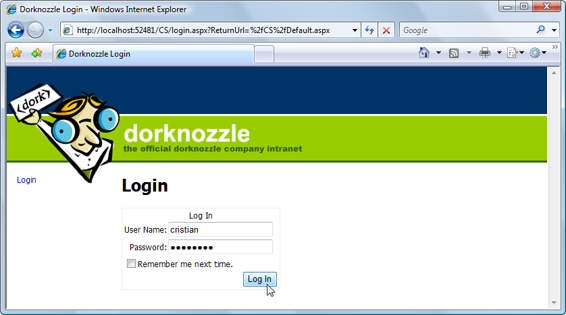
Figure 13.16. Using the Login control
Yes, that’s all you have to do! Start your project, and you’ll be sent to the Login
page. First, log in with the regular user details that you created earlier (not with the
admin account), then browse through the links to see that they can indeed be accessed, with the exception of the
Admin Tools
link. When you click
Admin Tools
, you should be sent back to the Login page. This time, log in with the admin user details,
and
voilà
! You’ll gain access to the Admin Tools page as well.
Let’s take a few moments to customize the look of your login controls. Stop the execution of the project, and switch back to
Login.aspx
in
Design
view. Select the Login control and click its smart tag to see the three very useful options shown in
Fig-
Figure 13.17. Options for the Login control
The
Administer Website
menu option launches the ASP.NET Web Site Administration
Tool. The
Convert to Template
option transforms the current layout of your control
into templates, which you can customize down to the smallest detail. The
Auto
Format…
link lets you select a predefined style to apply to this control.
If you were working in a production scenario, I’d advise you to select
Convert to
Template
and use CSS to fine-tune the appearance of your control, as we did with
the GridView and DetailsView controls in
Chapter 11. However
, for the purposes of this exercise, let’s just set the BorderStyle property of the Login control to Solid,
and the BorderWidth property to 1px.
Licensed to [email protected]


Security and User Authentication
589
It was very simple to add login functionality—we even changed its appearance with
just a few mouse clicks! There are just one or two more things that we need to take
care of before we can continue to add features to our site. First, let’s deal with personalization.
Customizing User Display
The next feature we want to implement is functionality that gives the user a way
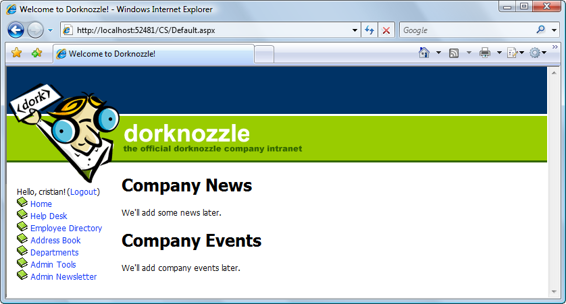
to log out of the application. After you perform the changes that we’re about to implement, logged-in users will have the option to log out, as
Figure 13.18 illustrates.
On the other hand, users that aren’t logged in won’
t see the menu at all, as Fig-
Figure 13.19. The Login page
To implement the logout link functionality, we’ll need to modify the menu in the
Dorknozzle.master
master page.
Using Master Pages
At this point, you should appreciate the extraordinary flexibility that master pages
offer us. If you didn’t use master pages or web user controls, you’d have to modify
all
of the pages on your site to implement this new functionality.
Licensed to [email protected]

590
Build Your Own ASP.NET 3.5 Web Site Using C# & VB
Figure 13.18. The view that the logged-in user sees
Open
Dorknozzle.master
, and change the code between and as indicated here:
Dorknozzle\VB\14_Dorknozzle.master
(excerpt)
FormatString="Hello, {0}!" />
(
ShowStartingNode="false" />
DataSourceID="dorknozzleSiteMap">
![]()
<%# Eval("Text") %>
Licensed to [email protected]
Security and User Authentication
591
Also modify the
Dorknozzle.css
file to accommodate the new control:
Dorknozzle\VB\15_Dorknozzle.css
(excerpt)
.Menu
{
top: 180px;
left: 15px;
width: 195px;
position: absolute;
}
Don’t let this code scare you; it’s actually quite simple. The root control here is a
LoginView control, which displays different templates depending on whether or
not the user is logged in (it also knows how to display different templates depending
on the roles of the user).
If the site is loaded by an anonymous (unauthenticated) user, we don’t want to
display the navigation menu; we want to display only the
Login
link. The output
that’s to be shown to anonymous users by the LoginView control is placed inside
its AnonymousTemplate template. There, we use a LoginStatus control that displays
a
Login
link for anonymous users, and a
Logout
link for logged-in users. Note that with the current Dorknozzle configuration, the contents of the AnonymousTemplate
are never actually used—all anonymous users are simply redirected to the Login
page. However, it’s best to include the LoginStatus control here anyway, just in
case we should ever reconfigure the site to include some pages that are accessible
to anonymous users:
Dorknozzle\VB\14_Dorknozzle.master
(excerpt)
Licensed to [email protected]

592
Build Your Own ASP.NET 3.5 Web Site Using C# & VB
The output that will be displayed to authenticated users is placed inside the
LoggedInTemplate template of the LoginView control. The LoggedInTemplate starts
by displaying a welcome message:
Dorknozzle\VB\14_Dorknozzle.master
(excerpt)
FormatString="Hello, {0}!" />
By default, the LoginName control displays just the username. However, you can
customize it by setting its FormatString property to a custom string, where {0} is
a placeholder for the username. Our FormatString value, Hello, {0}! will output
“Hello, cristian!” if the logged in user’s username is cristian.
Immediately after this welcome message, we have a
Logout
link generated by another
LoginStatus control which, as we discussed earlier, displays a
Logout
link to loggedin users:
Dorknozzle\VB\14_Dorknozzle.master
(excerpt)
(
