The Complete Beginners Guide to Mac OS X El Capitan (10 page)
Read The Complete Beginners Guide to Mac OS X El Capitan Online
Authors: Scott La Counte

To get started with it, go to your Launchpad in the Dock and click on the Calendar icon.

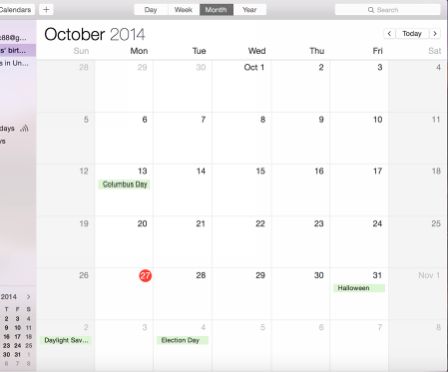
At the top of the application window from left to right you have the standard stoplight buttons, Calendars, New Event (+), several different views including Day and Month, and the Search bar.
Syncing Calendars
If you already use a calendar with iCloud, Google, Yahoo, or any other provider, you can sync it up with the Mac Calendar application.
- In the top menu bar click Calendar > Add Account.
- Like you did with Mail, you’ll be prompted to enter your name, email address, and password.
Once you finish the setup process your events from that calendar should automatically populate in the Calendar window. If you have multiple accounts with separate calendars, you can filter through them by clicking on the Calendars button in the toolbar, and checking or unchecking the boxes next to the appropriate calendars.
Changing Views
You can change the calendar view between Day, Week, Month, or Year by clicking on the corresponding button in the toolbar.
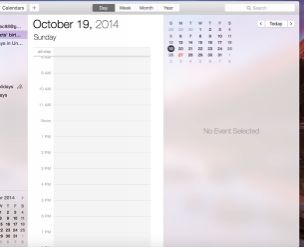
Day will display all of that day’s events, broken down by hour.
Week will show you the whole week at a glance, and display blocks for events so you can easily see when you have events, and if you have any upcoming free time.
The Month view will probably be your default view if you just need your calendar to remind you about bill payments and due dates, or don’t have too many appointments each month but they are scattered through the month.
Reminders
As the name implies, the Reminders application is used to remind you of things—and, as you might have guessed by now, it can be synced using iCloud to the Reminders app on your iPhone or iPad.
The app lets you create list for things like groceries or anything else on your mind; you can also use the app to schedule when things are do—like paying a bill by the 15
th
of the month; it can even be set to remind you every time you leave or arrive at your home to turn your home alarm on or off.
To get started, open the app by clicking on the Launchpad icon, then selecting it from the list of apps.

Creating Single Reminders
If you just need to be reminded of a single item, or several unrelated items, you should enter them into the Reminders list.
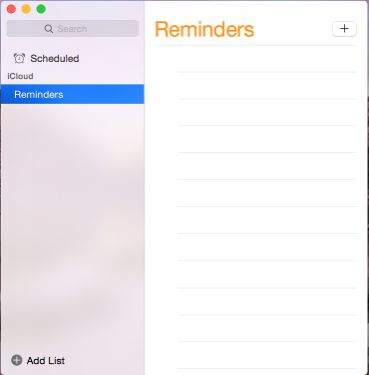
- With the application open, click on Reminders in the left hand window.
- In the main window, click on the (+) button next to the title of the list (“Reminders” in this case).
- A new item will be added that you should name immediately. Notice the radio button that appears next to the newly-created item.
- Once the item is named, double click on it to open up the information pane.
- Here you’ll be able to set the reminder date and time, priority level, and if you’d like to be reminded as you are arriving or leaving someplace.
- Fast forward to the day of the reminder; once you have completed the task, you can click on the radio button next to the item to mark it as Completed.
- You’ll then be able to hide or show any previously completed items.
- To delete items whether complete or incomplete, click on the name to highlight it and press the Delete key.
Creating New Lists
Single list are great for things like “open the gate Monday for the gardener” or “Pay the utility bill on Tuesday” but if you want to create reminders for things like shopping lists, then you’ll need to create a reminder list—these can be as long (or short) as you want.
- Open up the Reminders application if you closed out of it before.
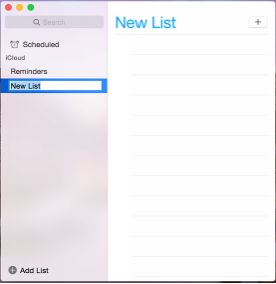
- On the left hand side of the window, at the bottom you will see (+) Add List. Click it and enter a name for your newly-created list.
- Once the new list is named, click on it and press the (+) button next to the list title as you did with Reminders to add new items. You can also choose whether you want due dates or not.
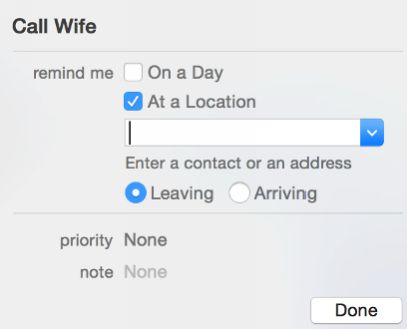
Location Based Reminder
If you want to create a reminder that is location based (i.e. “when I leave work, remind me to call wife”) then follow the steps above.
Click the Information icon next to the reminder (the “i” with a circle)

This will bring up a few extra options. One says, “remind me” with a checkbox for “At a location”; click that checkbox. Next, enter the address, and select if you want the reminder when you get there or when you’re leaving there.
Notes
Newer Macs come with Pages preinstalled, so what’s the point of notes? Notes is a more basic program than Pages or Word—you can’t do any fancy formatting. The advantage is that it opens and saves quickly. So in short, Notes is for when you just need to jot something down quickly.
To open it, go to the Launchpad icon on your Dock and click the Notes icon.

