The Complete Beginners Guide to Mac OS X El Capitan (13 page)
Read The Complete Beginners Guide to Mac OS X El Capitan Online
Authors: Scott La Counte

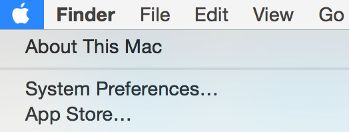
You can also get there by clicking on the Apple in the upper left corner of the menu and clicking System Preferences.
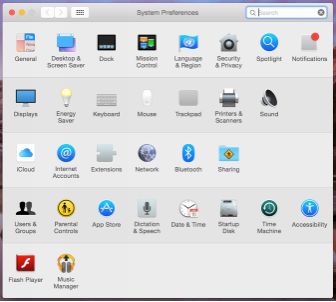
Once the app opens, you’ll see there are
lots
of things that you can configure.
General
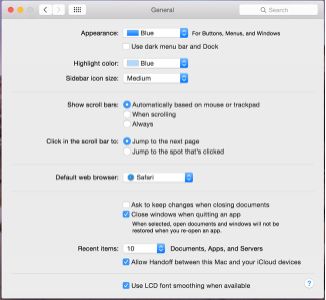
Let’s get started with the first option: General. Under General, you can:
- Change the appearance of the main buttons, windows, and menus by selecting either Blue or Graphite.
- Choose the highlight color.
- Change the top menu bar and dock to dark colors. This option works well with dark wallpapers.
- Set scroll bars to display automatically based on mouse or trackpad, only when scrolling, or always on.
- Select the default web browser.
- Here is where you can allow Handoff to work between your Mac and iCloud devices (some older Macs don’t support this feature).
At any time, you can get back to the main System Preferences page, but clicking on either the button with 12 tiny squares. You can also hit the Back button, but if you are several menus in, you may have to hit the Back button several times.

Desktop & Screen Saver
The Desktop & Screen Saver section will help you change perhaps the most visually noticeable thing on your Mac – the desktop wallpaper. Along the left sidebar you will see several different dropdown options: Apple, iPhoto, and Folders.
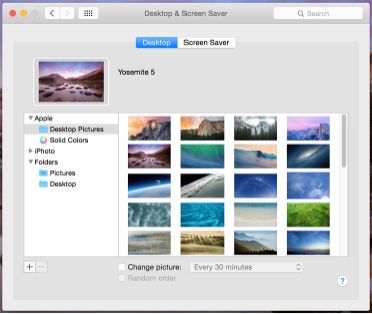
At the bottom, you will be able to change the picture every so often, and you can choose how often you’d like a new image to refresh. The images that show up in the right-hand window will be the ones that get scrolled through during refreshes.
To change your desktop wallpaper to one of the great-looking images provided by Apple, or if you just want to browse the available choices, click on the Apple name. A bunch of colorful, high-resolution images will populate the right-hand side, and you can scroll through the list to find something you like. Clicking on an image will change your wallpaper to that particular selection. If you’re a plain Jane and prefer to keep things really simple, you can also select Solid Colors to find an array of potentially yawn-inducing plain wallpapers.
Selecting iPhoto will let you scroll through your photos, allowing you to select a cherished memory as your wallpaper.
The Folders option will let you choose between added folders where more image files might be lying in wait. If you save lots of images to your desktop, you might want to add the Desktop folder here so you can include those images as would-be wallpapers.
Adding and Removing Folders
- To add new folders and image collections, click on the + button located at the bottom of the left sidebar.
- When the window comes up, search for the folder that you’d like to add.
- Once you find the desired folder, click the blue Choose button to confirm the changes.
- To remove a folder, highlight the folder that you’d like deleted and then click the – button to remove it.
Screen Saver
To set one up, click on the Screen Saver button at the top of the Desktop & Screen Saver window.
The left sidebar will have more options than you probably need when it comes to different ways to display your pictures. Some great ones you will probably like are Shuffling Tiles, Vintage Prints, and Classic.
On the right side you can see a preview of what your screen saver will look like. In this part of the window you can also select a source: National Geographic, Aerial, Cosmos, Nature Patterns, and Choose Folder if you have a particular folder of images you’d like to use. If you’d like to shuffle the order in which images appear, check the box next to Shuffle slide order.
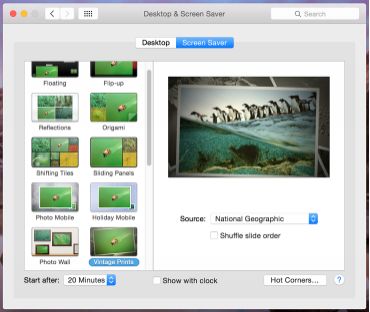
At the very bottom of the window you can choose the length of time before the screen saver starts. You’ll also be able to pick if you’d like to display the clock or not.
Dock
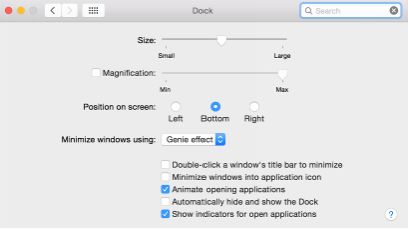
There isn’t a lot you can do to the dock and most of these settings are self-explanatory. For the most part the settings just make things a little more…animated. Magnification, for example, makes an app icon larger when you hover your mouse over it.
One option I will point out, however, is the option to automatically hide and show dock; all of these settings are a matter of taste; I personally choose to hide the dock for two reasons: one, it gives you more screen space, and two, it lets you use the dock while you are in a full screen app.
Mission Control
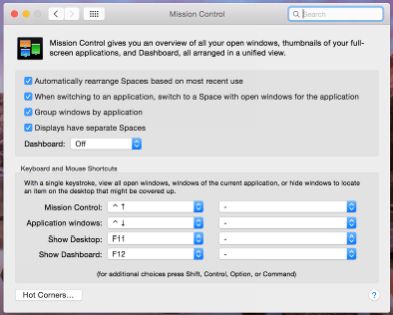
Mission Control is where you can set different parts of your screen to do different things. What do I mean by that? For example, you can set up a shortcut so that every time you move your mouse to the far upper right corner, your desktop is revealed. You can also set up shortcut keys on your keyboard. Mission Control is really about helping you make simple tasks quick.
Social Networking, Mail, Contacts and Calendars
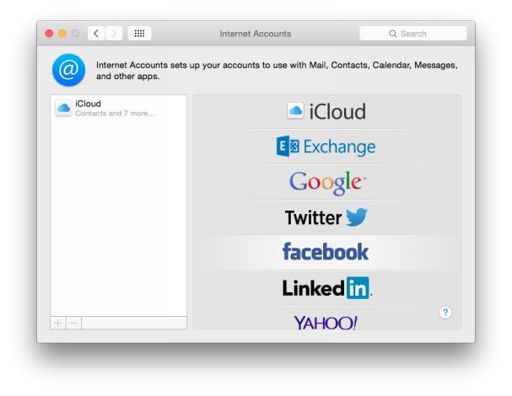
When you use Twitter, Facebook and other apps, you may be used to just going to a website. On a Mac, you can add them into your computer’s information, so you don’t need to login; this also lets you get notification pop ups when you have new messages, likes, etc.
Adding Accounts
To add accounts, go to System Preferences on your Dock (the gears icon) and select Internet Accounts. From here, you can add accounts that haven’t already been migrated, including iCloud, Exchange, Google, Twitter, Facebook, LinkedIn, Yahoo!, AOL, Vimeo and Flickr. Adding accounts here will start populating El Capitan’s native Mail, Contacts, Reminders and Calendar apps, and add options to your Share button.
