Happy Endings: Finishing the Edges of Your Quilt (9 page)
Read Happy Endings: Finishing the Edges of Your Quilt Online
Authors: Mimi Dietrich
Tags: #Crafts & Hobbies, #Quilts & Quilting

BOOK: Happy Endings: Finishing the Edges of Your Quilt
10.56Mb size Format: txt, pdf, ePub
Preparing Your Quilt
1.
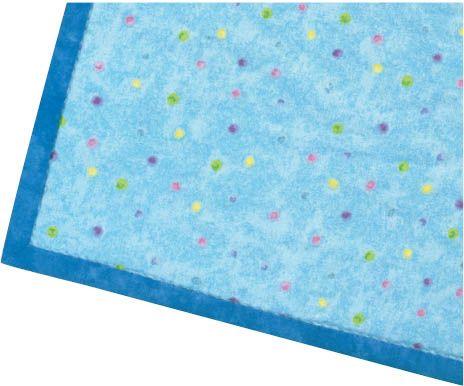
After quilting your project, lay the quilt on a flat surface and baste around the edges, ¼" from the cut edge of the quilt top. Be sure to stitch through the quilt top, batting, and backing. You can do this by hand or by using a long machine stitch and the walking foot on your machine. This step will keep the layers from shifting as you finish the edges.
2.
Use scissors to trim the batting even with the edge of the quilt top, making sure you do
not
cut through the back of the quilt.

3.
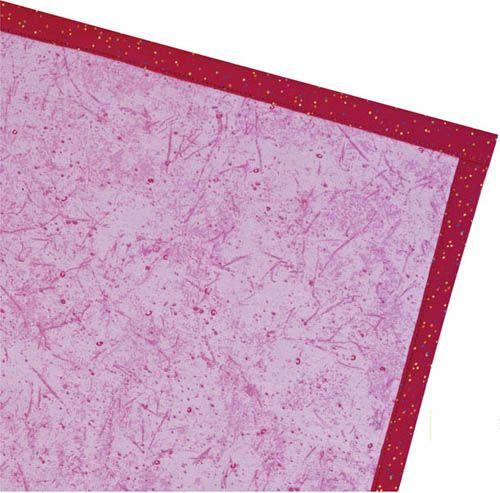
For ½"-wide “binding,” you will need 1" of backing fabric extending beyond the edge of the quilt top. Use a rotary ruler to measure 1" of extra fabric around the edges of the quilt top, and trim off the excess fabric with a rotary cutter. If you want “binding” wider than ½", cut the extending fabric two times the desired finished width.

Finishing with Overlapped Corners
1.
Fold the 1" of backing fabric in half, wrong sides together, so that the cut edge of the back meets the cut edge of the quilt top.
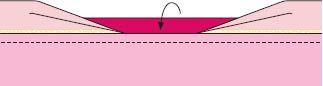
2.
Fold the backing again along the edge of the quilt top to form the finished edge. This fold encases the batting and covers ½" of the quilt top. Pin along the fold to hold the finished edge in place.

3.
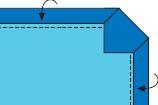
To finish the corners, extend the fold to the corner.

4.
Fold the adjacent side, overlapping the first side at the corners. Pin and then stitch in place.


Happy Ending Hint
Although overlapping the corners is fast and easy, the corners can be bulky and threads of fabric sometimes sneak out of the corner folds. Fold the corners carefully and tuck the raw edges in. Sew the edges closed by hand.

Finishing with Mitered Corners
To improve the appearance of the corners, you can fold a miter. Mitering only takes a few minutes longer, and remember, there are
only
four corners on your quilt! In this method, the corners are folded first, and then the sides.
1.
Fold the corner of the backing over the corner point of the quilt top so that the fold touches the point. Make sure you fold the backing squarely over the edge of the quilt.

2.
Fold the 1" of backing fabric in half, wrong sides together, so that the cut edge of the backing just meets the cut edge of the quilt top.
Other books
Of Mice and Men by John Steinbeck
The Girl on the Fridge: Stories by Etgar Keret
Two Wanted Men [Badlands 2] (Siren Publishing Menage Amour) by James, Elle Saint
The Corin Chronicles Volume I: The Light and the Dark by Marvin Amazon
Son of the Mob by Gordon Korman
The Somnibus: Book I - Finding the Mark (A Paranormal Thriller) by McGray, Craig
Caledonia Fae 05 - Elder Druid by India Drummond
A Field of Red by Greg Enslen
Going the Distance by Meg Maguire
Eternity Ring by Wentworth, Patricia