Foundation Game Design with ActionScript 3.0, Second Edition (68 page)
Read Foundation Game Design with ActionScript 3.0, Second Edition Online
Authors: Rex van der Spuy

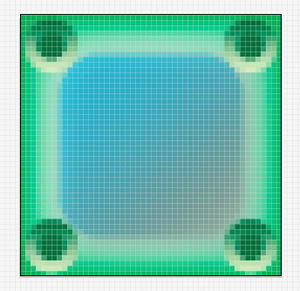
Figure 7-27.
Pixel Preview lets you see what your drawing will look like in pixels.
This perfectly demonstrates the differences between vector and bitmap artwork: lines vs. dots. You can actually do all your drawing with Pixel Preview switched on the whole time if you want to. Sometimes this is necessary to make sure fine, detailed work aligns properly, especially for small graphics. You'll see how useful this can be when you design the bomb graphic in the next section. (Uncheck Pixel Preview from the View menu to switch it off.)
The last step is to save your work.
- Select File
 Save As from the main menu. Choose a location on your computer to save the Illustrator document and click the Save button. (Illustrator documents have an .ai file extension.)
 - Now you need to make the PNG version. Select FileSave For Web and Devices from the main menu. Select PNG-24 from the Preset menu. Click the Save button and choose a save location for the finished PNG image.
This has been quite a grab bag of different Illustrator techniques. Let's pick up the pace a bit and design the bomb graphic.
Making the bomb graphic gives you a chance to use Illustrator's Pen Tool and Star Shape Tool, and it shows you how you can merge two or more shapes into one.
- Create a new Illustrator document called bomb. Keep all the new document settings the same as for the box, but change the width to 40 and the height to 30.
- Select the Ellipse Tool. Hold down Shift and drag to create a perfect circle that's the height of the artboard. (If you want to draw a circle from its center, hold down the Alt (Windows) or Option (OSX) key.)
- Fill the circle with a very dark, almost black, radial gradient, as shown in
Figure 7-28
. Position the circle on the left side of the artboard.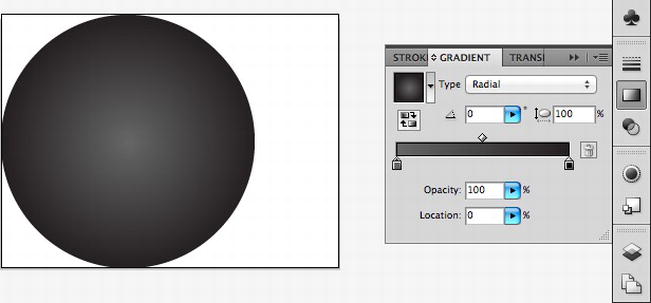
Figure 7-28.
Draw a circle with a dark radial gradient. - Select the Gradient Tool. Use the gradient annotator to reposition the center of the gradient so that its lightest area is near the top left of the circle (
Figure 7-29
). This creates a highlighting effect and gives the circle a sense of depth, as though it were a sphere.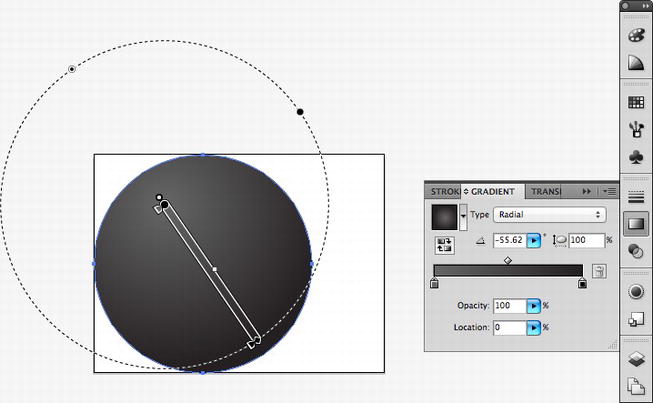
Figure 7-29.
Rotate and move the gradient to create a spherical highlight effect. - Draw a black rectangle about a fifth the size of the circle. Use the white arrow tool to taper the left and right corners. The arrow tools in Illustrator work exactly as they do in Photoshop You'll end up with a shape that looks like
Figure 7-30
.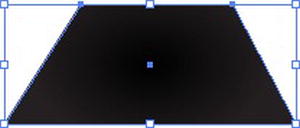
Figure 7-30.
Draw a black tapered rectangle. - Rotate and move this new shape to the top left edge of the circle. Let it slightly overlap the circle, as shown in
Figure 7-31
.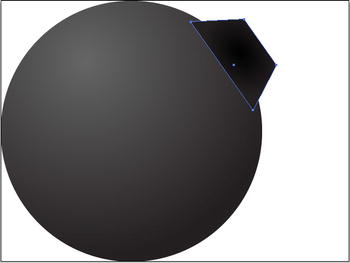
Figure 7-31.
Move the new shape over the circle.The next trick is to move the new shape to a position behind the circle. In Photoshop, you would do this by moving the new shape's layer below the circle layer. Illustrator has layers, just like Photoshop, but you often don't need to use them. Shapes are usually layered by adjusting their stacking order on a single layer. Let's see how.
- Make sure that the new shape is still selected. Choose ObjectArrangeSend Backward from the main menu. The new shape will position itself below the circle, as shown in
Figure 7-32
.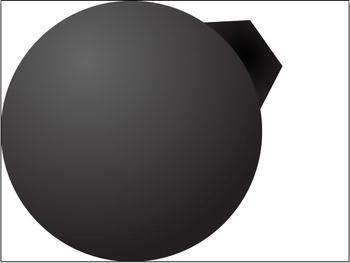
Figure 7-32.
Move the new shape behind the circle.Moving shapes in front of or behind other shapes like this is such a common task in Illustrator that you'll want to learn the keyboard shortcuts for doing this. First, hold down CTRL (Windows) or the Command key (OSX). Then press either of the square bracket keys, [ and ], to bring objects forwards or backwards in the stacking order. If you hold down the Shift key as well, the selected shape will jump to the very top or bottom of the stack. This works really well, and you'll often find you'll only need to use layers for very complex shapes.
Now merge the two shapes together.
- Open the Pathfinder panel by selecting WindowPathfinder from the main menu. The Pathfinder panel has numerous buttons that let you combine or subtract shapes from each other.
- Select both shapes by holding down the Shift key and clicking both of them with the black arrow. You can also select all the shapes by choosing SelectAll from the main menu. Or you can use the useful keyboard shortcut for this: Ctrl+A (Windows) or Command+A (OSX). You'll know that both shapes are selected together because they'll both be surrounded by blue bounding boxes.
Figure 7-33
shows what this should look like.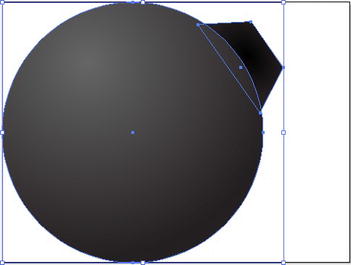
Figure 7-33.
Select both shapes together. - Click the Unite button in the Pathfinder panel, as shown in
Figure 7-34
. The two shapes have now merged together.